There are many choices available for artists when it comes to choosing a painting support. The support and ground is one of the most influential factors in the longevity of your masterpiece. My personal favorite is aluminum panels that I prepare myself with either a cotton-poly blend canvas mounted to the aluminum or with the aluminum primed. Living and working in SW Florida, a subtropical climate, I've personally experienced or witnessed issues with every traditional support, except for the aluminum panels and poly-cotton blends, due to our periods of extremely high humidity.
In this post I'll talk about some of the different options as well as methods for preparing aluminum panels. Before I begin, it is important to know that there is no 100% perfect support for oil painting. We simply must do the best that we can with the materials and knowledge that we have available to us today. You must decide what you are comfortable with and through experimentation, what type of support you enjoy using the most.
Oil Painting Supports
Canvas, whether made of cotton or linen, is quite hygroscopic, meaning that it expands and contracts with exposure to humidity. The problem is that canvas expands and contracts at a greater rate than oil paint when exposed to fluctuations in temperature and humidity. These differences in dimensional stability with canvas cause cracking and delamination of oil paint over time. Canvases also subject to water damage, mold, insect attack, rotting and crumbling, and mechanical damage.
If you enjoy using canvas, polyester canvas is a better choice as it is not hygroscopic and a little more resistant to mold. Insects are also not interested in eating polyester and it does not rot. One caveat is that it is susceptible to UV degradation, so make sure that you prime the entire surface well and that the back side is also not exposed to light. Pure polyester can be a little difficult to prime and may need to be lightly sanded before priming for better adhesion. For artist materials you often find polyester cotton blends as the cotton content adds some absorbency that makes priming easier. In the past, I've used a poly cotton blend and find that it does not slacken over time the way cotton or linen does when used for large paintings. Some artists also use sail cloth, made from 100% polyester for large scale works. For those who enjoy the texture of canvas, your choice of canvas can be mounted directly onto aluminum panels, on the polyester coating side, with a reversible adhesive called BEVA. This lends even more protection from mechanical damage, and greater dimensional stability.
Masonite and plywood panels also suffer from warping and their own issues in dimensional stability. In addition, these supports are also subject to water damage, mold, insect attack, rotting and crumbling, and mechanical damage.
Aluminum Dibond Panels, are composed of two thin sheets of aluminum bound to a polyethylene core, some are coated on both sides with a polyester coating to prevent corrosion and adhesion of printed or painted material. They are traditionally used in the construction of airplanes and in the outdoor sign industry. Being metal, these panels are very dimensionally stable in conditions of fluctuating temperature and humidity and as you would expect, do not rot, warp, insects couldn't be more bored with them, they do not mold or crumble and are not damaged by water. They can be dented and bent. While current evidence suggests that these panels hold up well over time out of doors there are no long term studies for them in an art material context; they could possibly corrode over time but we just do not know. We do however know that traditional stretched canvas or linen, and wood panels are quite problematic. Therefore, a best practice would be to mount a polyester canvas to the aluminum panel. If any issue develops with the aluminum panel, the painting on canvas can simply be removed and remounted to another support. The panels come in different thicknesses, I find the 1/8" or 3mm option to be less bulky and suitable for my needs. Large panels over approximately 24"x30" should be supported with a frame or bracing on the back as alone it has a bit of flex.
Preparing the Dibond with a Ground
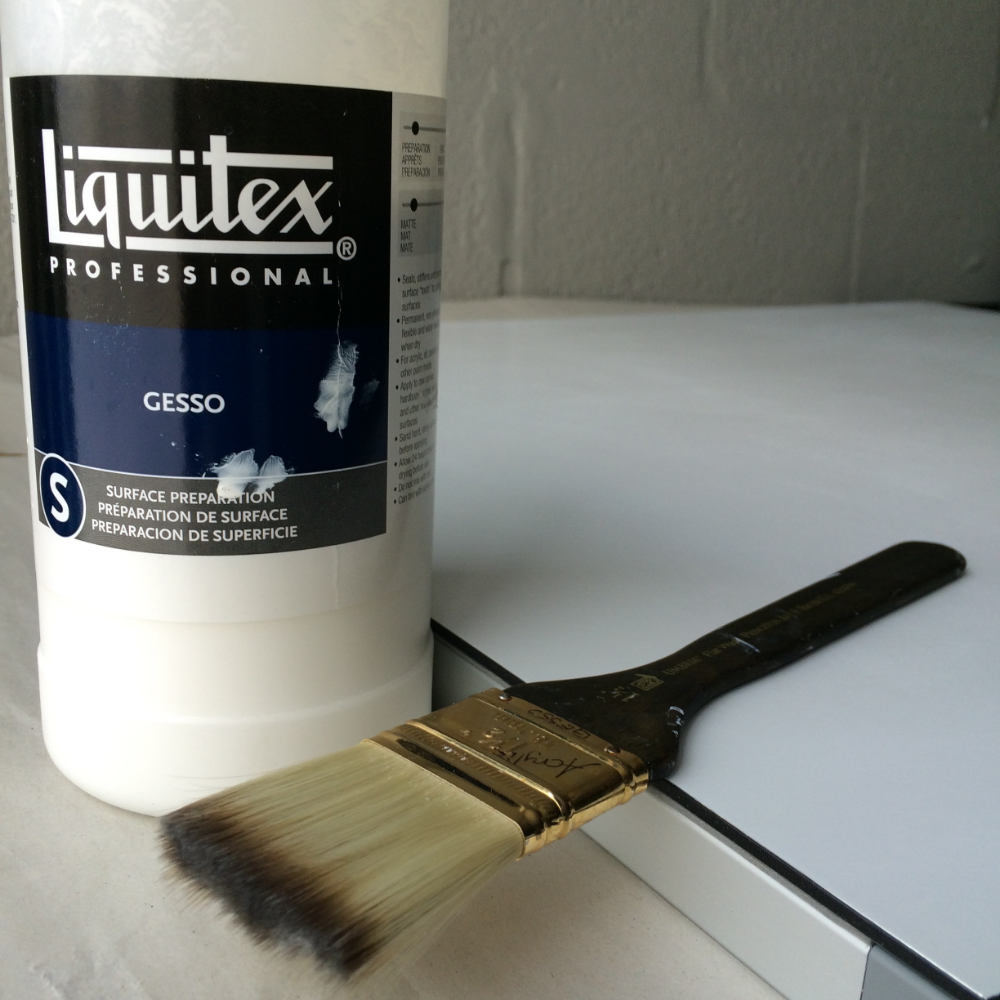
Liquitex Acrylic Dispersion ground is one of my favorite grounds for painting on aluminum panels. I also like lead in linseed oil as well from either Natural Pigments or Williamsburg. Both the Lead grounds and Liquitex ground provides the right amount of absorbency with the right amount of tooth for the painting techniques I employ on these particular panels.
The aluminum panel comes with a factory coating of polyester that when sanded readily accepts oil and acrylic paint or grounds. Throughout the whole process I wear nitrile gloves to ensure that I am not transferring oils and dirt from my hands onto the surface of the support; oil and dirt could cause adhesion issues.
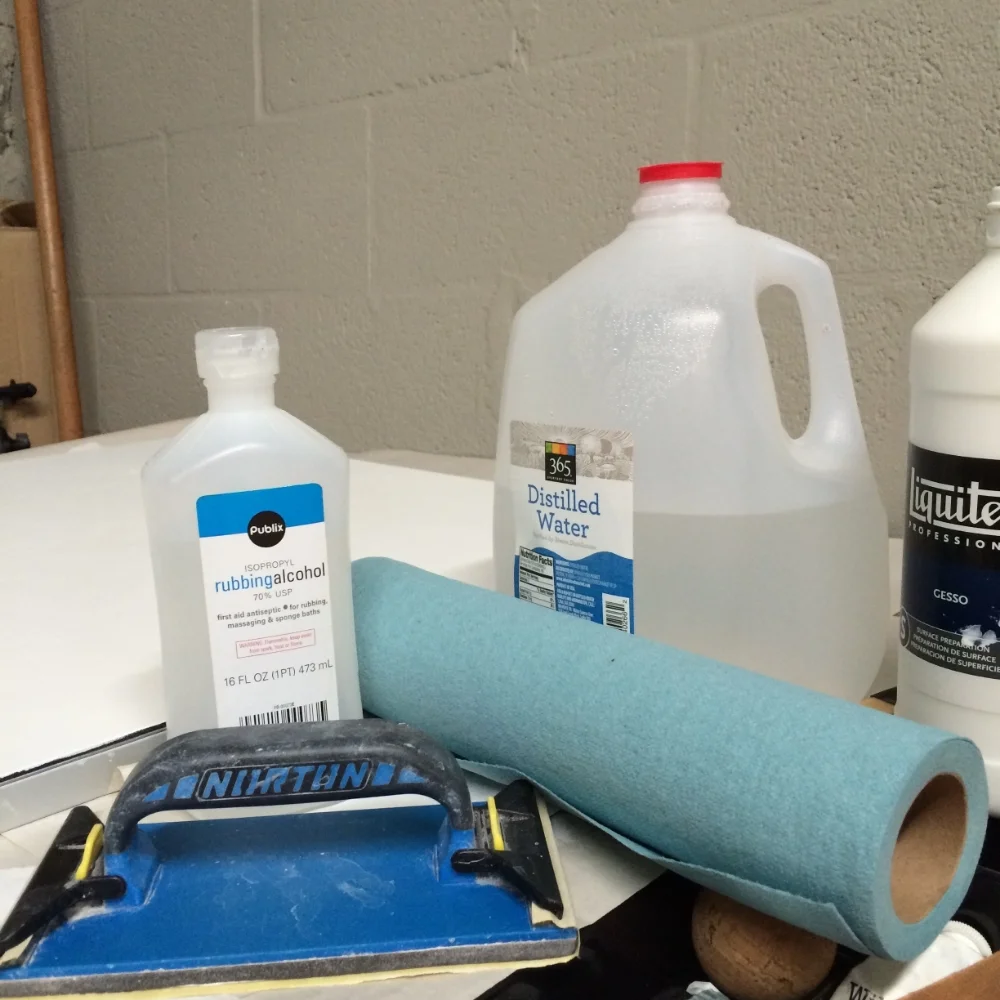
First, your supplier may have left the protective plastic film on the Dibond- you will need to peel that off first if they did. Next, I sand the polyester coating with 400 grit sandpaper. I sand in small concentric circles, being sure to lightly abrade the entire surface evenly. Be careful not to sand too much on the corners and edges. If you see the aluminum STOP, you are sanding too much and the ground will not stick to the exposed aluminum!
After sanding, I wash down the panel with isopropyl alcohol, removing the dust and any grease with a lint free paper towel. Once this dries I apply the Liquitex ground. I re-apply 2-3 more layers with at least 4 hours of dry time in between. You can add up to 25% distilled water to the acrylic ground in the later layers to help with brush ability. If you touch the back side of the panel and it feels cooler than the ambient surroundings then wait to apply your next coat. The decreased temperature lets you know that evaporation of moisture is still occurring and it would be best to wait. If you like a super smooth surface you can sand between coats. I like a bit of texture and so I leave it alone. Once I apply the last coat I let the panel sit for at least one week to ensure that all the moisture has evaporated from the ground and it is safe to begin the oil painting.
Mounting Pre-Primed Canvas to an Aluminum Panel
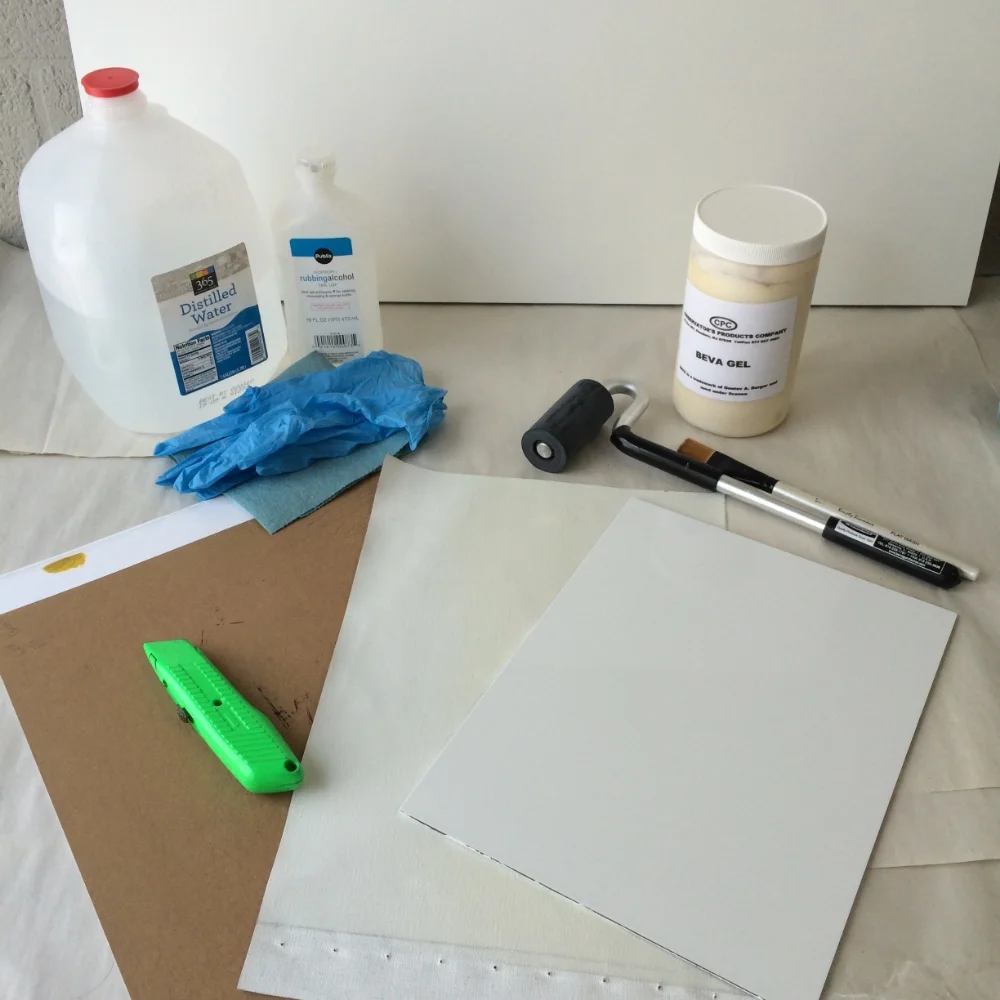
For mounting canvas to aluminum panels I use an adhesive product from Conservators Products called BEVA 371. It can be used to adhere a variety of canvases and artists materials to a variety of supports. It is acid free and comes in a liquid solution, a heat and pressure activated film and a water based gel. All are reactivated by heat, allowing a conservator to remove your painting from its support and remount it to a new one should the need arise. I personally enjoy the ease of use of the BEVA gel.
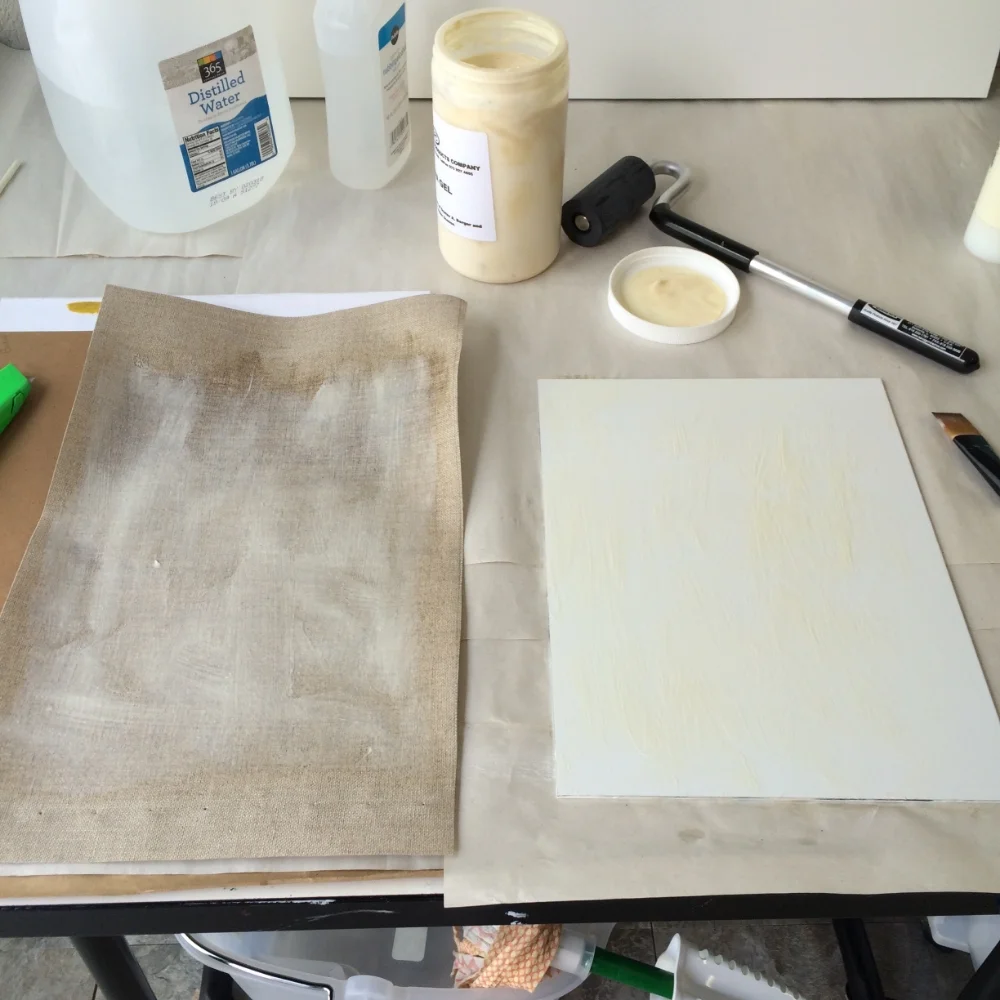
First, I wash down the aluminum panel with isopropyl alcohol and let it dry. You can also sand the support for even greater adhesion but I find that this is not necessary. Next I apply a liberal and even coat of the BEVA with a brush to both the back side of the pre-primed canvas and to the polyester coated side of the aluminum panel. I'm careful to extend the adhesive over a slightly larger surface area than is needed. You may add a small amount of distilled water to the BEVA to help with brushability, but I find it to be the perfect consistency straight out of the jar. Next, while lowering the first edge of the aluminum panel onto the back of the canvas, line up the grain of the canvas with the edge of the panel so that it is nice and straight. Next, slowly lower the rest of the panel onto the canvas. Make sure it is positioned as you want it and then gently press it down and carefully flip it over.
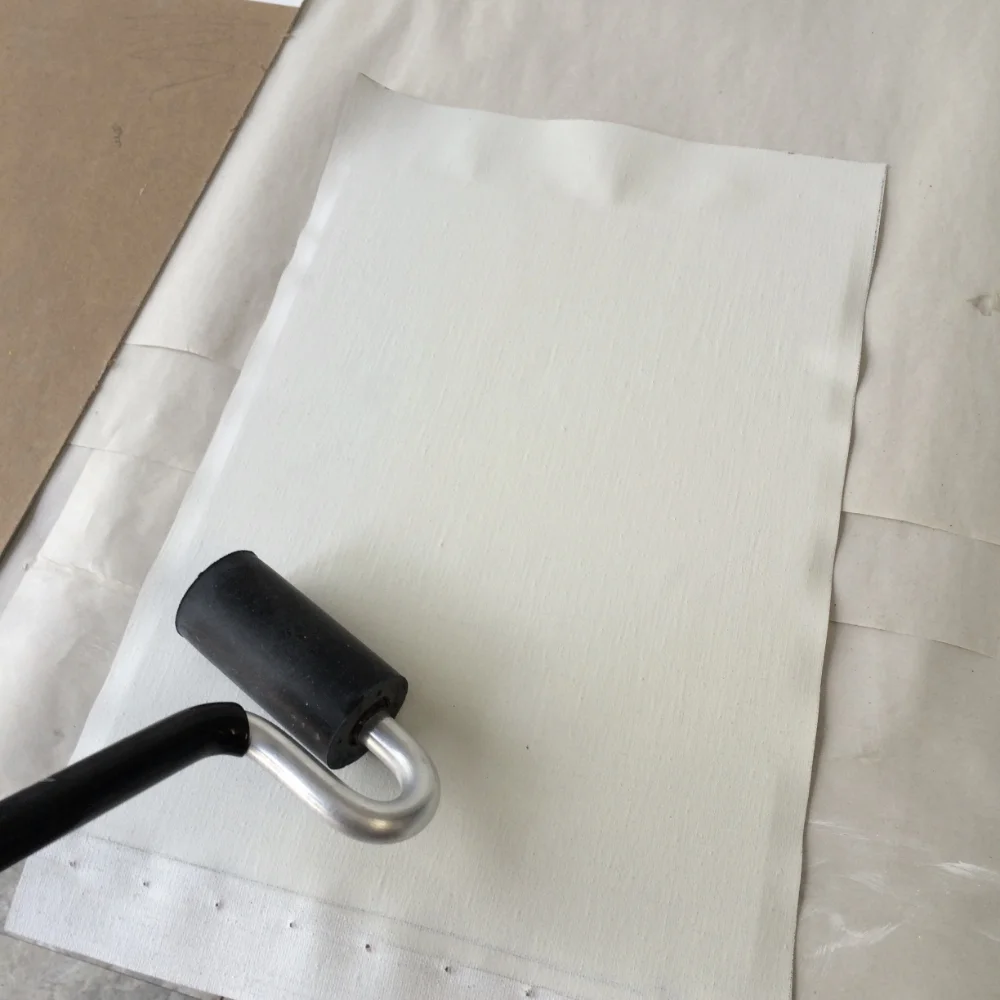
Next, I run a brayer over the entire canvas surface several times and in multiple directions to ensure that I have a nice even coat of BEVA without air bubbles and excess adhesive. I wait 2-3 minutes and run the brayer over it one last time. If there are going to be bubbles they usually appear after a couple of minutes as the canvas absorbs some of the moisture from the adhesive, causing expansion and subsequently bubbles. For the best results, handle your panel as little and as carefully as possible after this point.
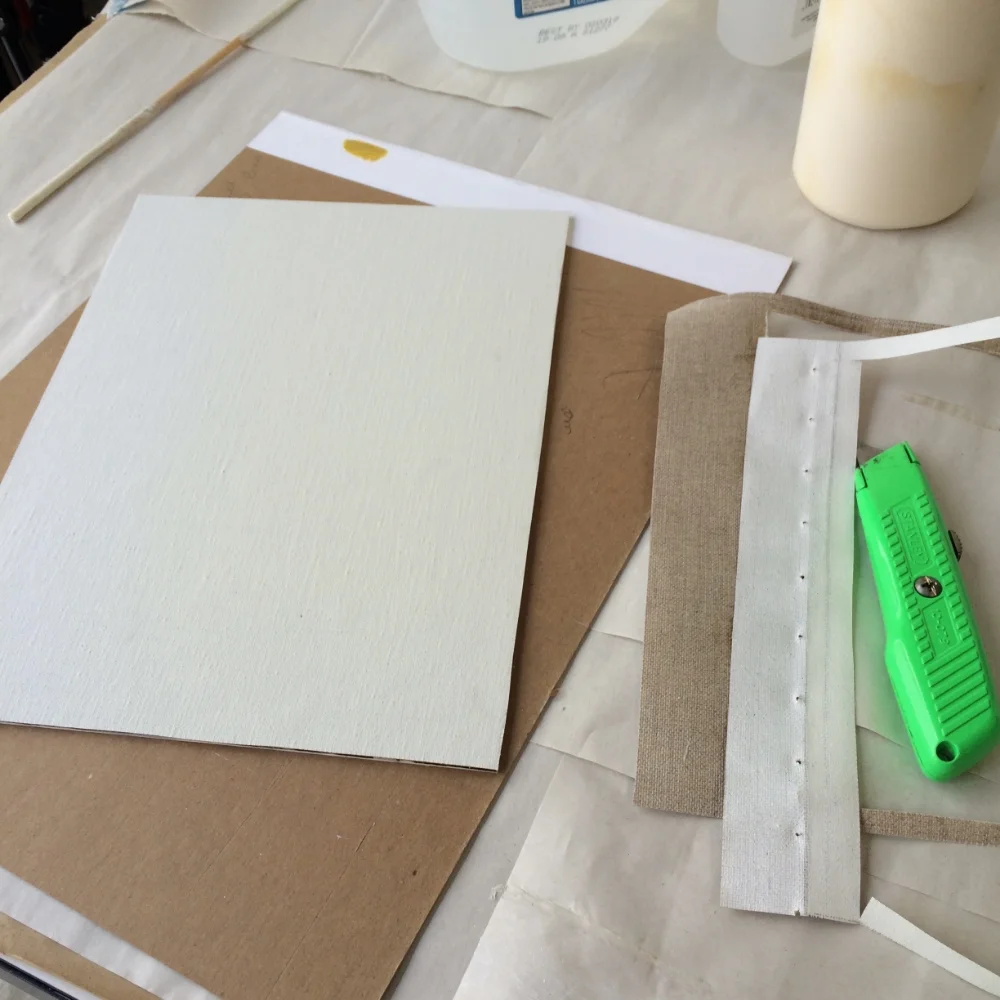
For a clean look excess canvas can be trimmed by carefully placing the canvas face down on the table with a cutting mat or piece of cardboard underneath. Using the edge of the aluminum panel as a guide cut the excess canvas with a sharp box cutter. I advise doing this while the adhesive is still wet. After you are done cutting, flip the panel back over and run the brayer lightly over the edges to make sure they remain nicely adhered. Be careful not to squeeze out too much of the adhesive along the edges. Next, I cover the panel with a large sheet of acid free gator foam or other board that covers the entire surface. This evenly distributes the additional weight of heavy books I subsequently place on top. I then leave it for 24 hours to cure.
Clean your brush and tools with soap and water. If you accidentally let the BEVA dry on your brush, try soaking it in some isopropyl alcohol and then washing it in soap and water.
Troubleshooting
If large sections pull away then not enough adhesive was used for the grain of the canvas. The more textured the canvas the more adhesive you will need to fill in the troughs to get a good bond. The finer the grain of your canvas the easier it will be for the BEVA to adhere it to the panel. Alternatively, the aluminum panel may not have been sufficiently cleaned of oils and dirt. Also, try sanding and cleaning the white polyester finish to provide a greater surface area to which the BEVA can adhere.
If any bubbles develop again I carefully use a tiny crafters iron on a medium to medium low setting, depending on the canvas type, to activate the adhesive and weigh it down again overnight. (Check your iron's specific settings and test it on a scrap piece of canvas first.) Be careful not to scorch your canvas. You only need around 160 degrees Fahrenheit to reactivate the BEVA.
If the edges pull away from the support you can reapply some adhesive or heat it up with the iron, brayer it and weigh it down again being careful not to let the adhesive get onto the front surface of the canvas.
Where to get the aluminum panels
Unprepared panels:
Call you local outdoor sign printing company as they will be your closest source for the panels. You can order them in most any size you wish and they are relatively inexpensive.
Prepared Panels:
Natural Pigments and New Traditions conveniently sell panels that are already mounted with canvas using BEVA.
Sorry for the long silence, it's been a busy time with renovating our house and designing and building a permanent studio for me on the same property. It's going to be a magical place for sure! Until these projects are complete and I'm moved into my new studio things will need to slow down on the blog. The last thing I want to do is produce work, or blog posts that are substandard during this time. You are welcome to follow along with me in the process of designing and building my studio as I always share updates and behind the scenes photos in each of my newsletters. I hope that you enjoy reading this post on painting supports and as always Happy Painting!